
The FRP locking function is operational with the Gmail account that is currently logged in. When you initiate the (Hard Reset) procedure on your device, this specific feature activates and prompts you to log in once more with the previously signed-in Google account while finishing the setup wizard steps. If you can recall your account details, there will be no problem. However, if you cannot, complications occur, leaving you on the Google verification page. To address this issue, refer to the guide for Bypass FRP All ZTE Android 16.
Disclaimer: We highly recommend you to apply this method only on your own device, if you are not owner of this device, or you found this from some where, you must return to its real owner. This method is for educational purpose only.
Bypass FRP All ZTE Android 16 With PC Tool (FREE)
-Download the tool first from below given link. After that, install and launch this tool on your computer.
| ⇒ BFT Tool V1.7 [DOWNLOAD]. |
Note: Disable the (@ntivirus tool) from the computer before launching your (Best Flash Tool).
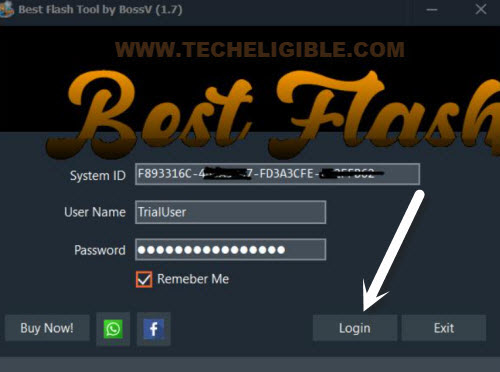
-To run this best flash tool, simply, hit over the “Login” option. After that, the tool will be fully launched on your PC.
Select Processor
-Let’s choose now “0-UNISOC” option. After that, select the “Manual” option.
-Set up the chipset name “[AUTH] SC9863A (64)”.

Install ZTE Android 16 Drivers
-We’re gonna download and drivers on PC before connecting the phone.
-Tap on “Driver” options from the tool. After that, choose “Install SPD Driver“. This will download driver automatically and show you installation steps.
-Click to “NEXT” option to install this driver.
-Once its completed, let’s download another driver.
-Tap “Drivers” tab option again, from there, hit on “Install LibUSB Filter Driver“. Wait there until downloading process is completed.
-Finally, from the popup window of installation process, just click at “Next” and install driver.

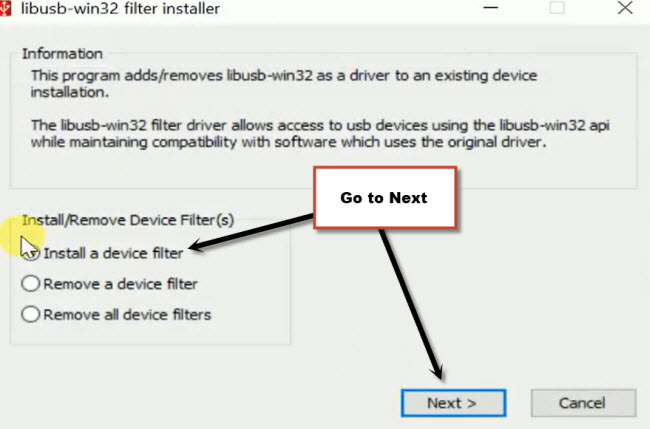
-From popup window (LibUSB filter driver), select “Install a device filter” and hit on “Next”.
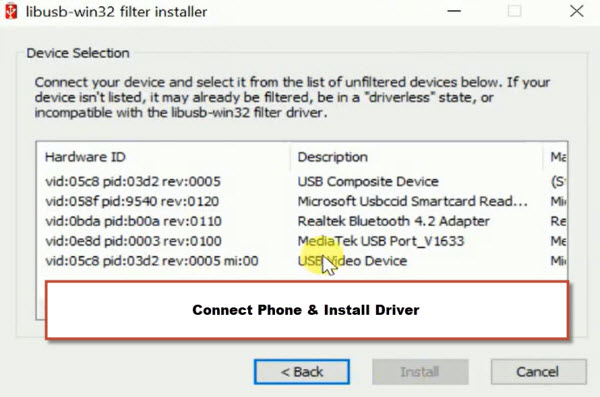
-Turn off ZTE Android 16 device, and while long pressing the (Volume Down) key, just connect the phone with PC. After that, the libusb will automatically detect correct driver for your phone. Select that driver and click to “Install” button to install it on PC.
-After proper installation of the driver, disconnect your ZTE phone.
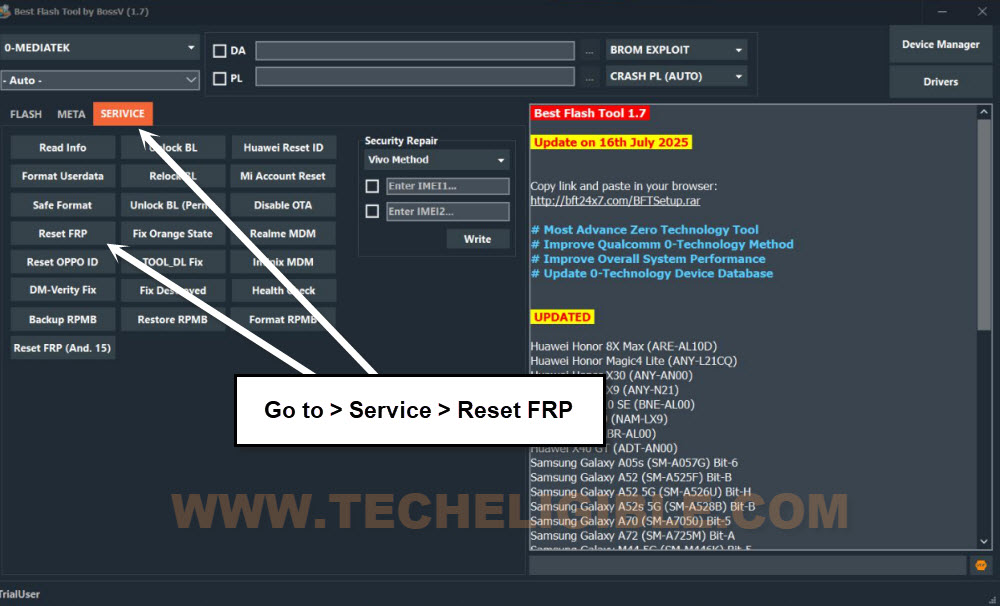
-Tap at “Service” option from best flash tool interface same as shown in below image.
-Go to “Reset FRP” button to start this process.
-Turn off your ZTE phone. Connect the phone with PC by long holding (Volume Down) button. This time, your device will be detected by the tool and PC as well.

| Note: Encountering an issue and frp is not being removed, try by selecting other chipset name from the (Manual). Such as [Tiger T610 (64)] or [Tiger T606 (64) V2]. Let’s check your device chipset detail by visiting (GSM Arena site) with your device model name. After that, select the correct chipset name. |

Reset FRP By Tool
-Once you selected the correct chipset name, just click again on “Reset FRP” button.
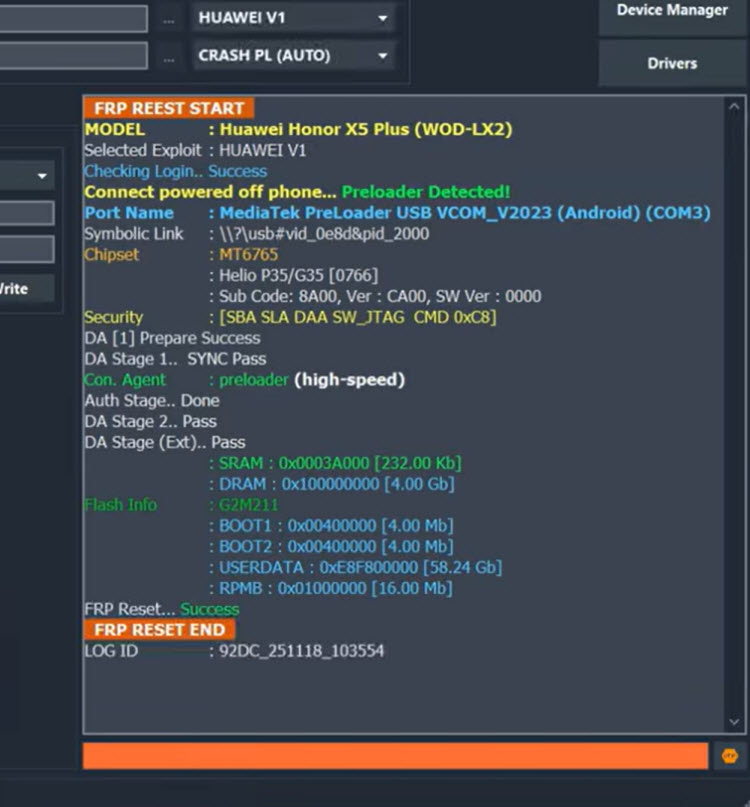
-Reconnect phone by long pressing the (Volume Down) button. This time, we hope, the frp will be bypassed and will show you message of (FRP Reset END).
Note: Your ZTE phone is still on FRP lock and bft tool is unable to detect it? Try by downloading installing proper SPD drivers from below. After that, repeat frp bypass steps.
|
-You can happily disconnect the phone. Turn it on to complete setup wizard steps.
-If you reach on (Google Verification) screen, from there, go to > Skip > Skip.
Remember: If your phone is stuck on loading page, simply hard reset it by getting into (Android Recovery Mode). After that, complete setup wizard steps again.
Conclusion
Acquired and set up the straightforward and complimentary (BFT Tool) on the computer. Next, drivers were correctly installed using the bft tool. Then, our ZTE smartphone was linked to the PC using proper USB cable. Chose the (Unisoc) processor, Clicked the (Reset FRP) option. The FRP bypass process completes on its own in just a few seconds to a minute.