
Stuck on the google verification screen due to hard reset the phone? This is because, you don’t remember your Gmail account, that was setup earlier. FRP lock works with previously setup google account, and its start functioning, when someone hard rest the phone and don’t login again with the same google account. If you are the phone owner, then, you can follow up procedure to Bypass FRP All ZTE Android 15 with the help of a free (BFT PC Tool).
Disclaimer: We highly recommend you to apply this method only on your own device, if you are not owner of this device, or you found this from some where, you must return to its real owner. This method is for educational purpose only.
Bypass FRP All ZTE Android 15 (By BFT Tool)
-Begin this process by downloading the tool first on your computer.
| ⇒ BFT Tool V1.7 [DOWNLOAD]. |
Note: Don’t forget to disable or deactivate your any active (@ntivirus tool) from the PC. This action need to be done for temporary. After using the bft tool, you can activate it back.
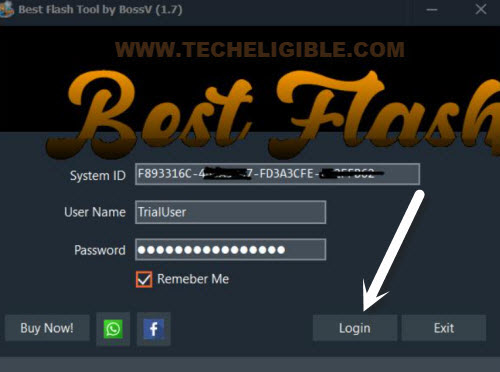
-Once the tool has run successfully, simply, tap on “Login” option from popup screen.
-We have to choose the “0-UNISOC” processor for our zte phone.
-Afterwards, choose the “Manual” option and set up there “[AUTH] SC9863A (64)”.

Install Unisoc Drivers:
-From the tool interface, go to “Drivers” option, then, choose “Install SPD Driver” and wait to download it and auto start the installation process.
-From the popup window of the installation, just install this driver by tapping on “Next” option.
-Once its done, let’s download another driver “Install LibUSB Filter Driver“.

-Let’s install this (LibUSB filter driver) as well.
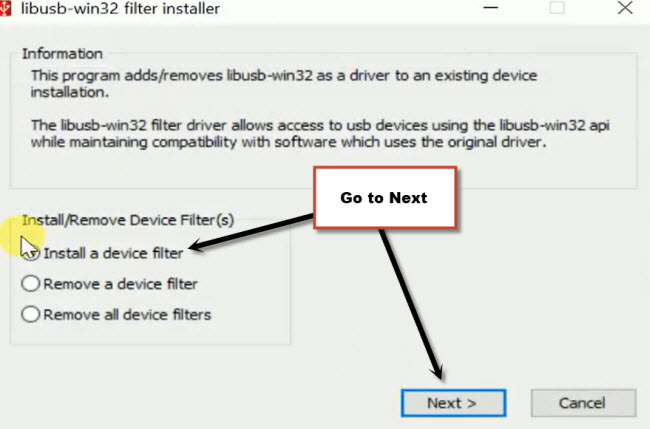
-From the popup window of the installation screen, choose “Install a device filter” option, then go to “Next”.
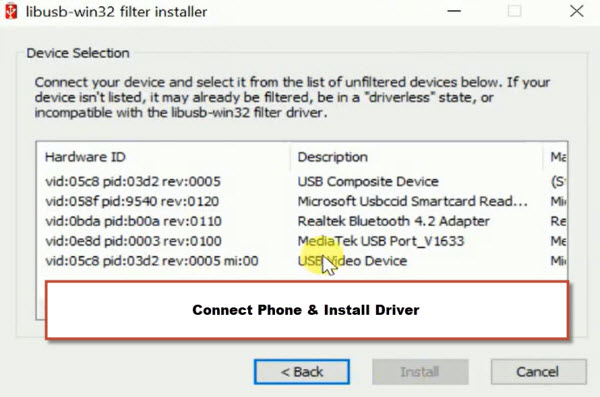
-We’re gonna install the ZTE proper drivers. For this, simply turn off the phone and while long holding the (Volume Down) key, connect the phone with PC.
-After that, you will be displayed another (Driver Name) on the libusb popup screen, Just select that driver and click to “Install” option.
-After proper installation of the drivers, just disconnect your phone.
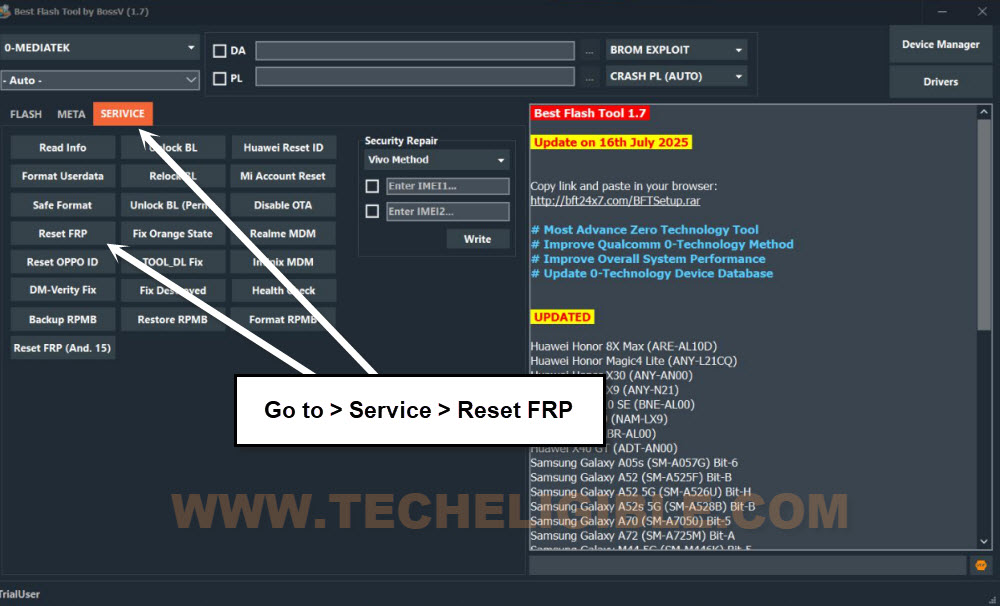
-Go to BFT tool screen, and click on “Service” option.
-Finally, click over the “Reset FRP” button to continue the FRP Bypass procedure.
-Let’s connect the phone to PC again while long pressing the (Volume Down) key.
Note: Keep pressing the volume down key and connect phone to PC.
-After that, the BFT tool will auto trace your phone and start bypassing FRP ZTE Android 14.
| Note: If you are getting an error and frp is not being bypassed. In this case, close and reopen (BFT Tool) program. After that, try again by selecting other chipset name from the (Manual). Such as [Tiger T610 (64)] or [Tiger T606 (64) V2]. You can check your device chipset detail by visiting (GSM Arena site) with your device model name. After that, select the correct chipset name. |

-After successfully bypassing the FRP, you will have a message on screen (FRP Reset END)
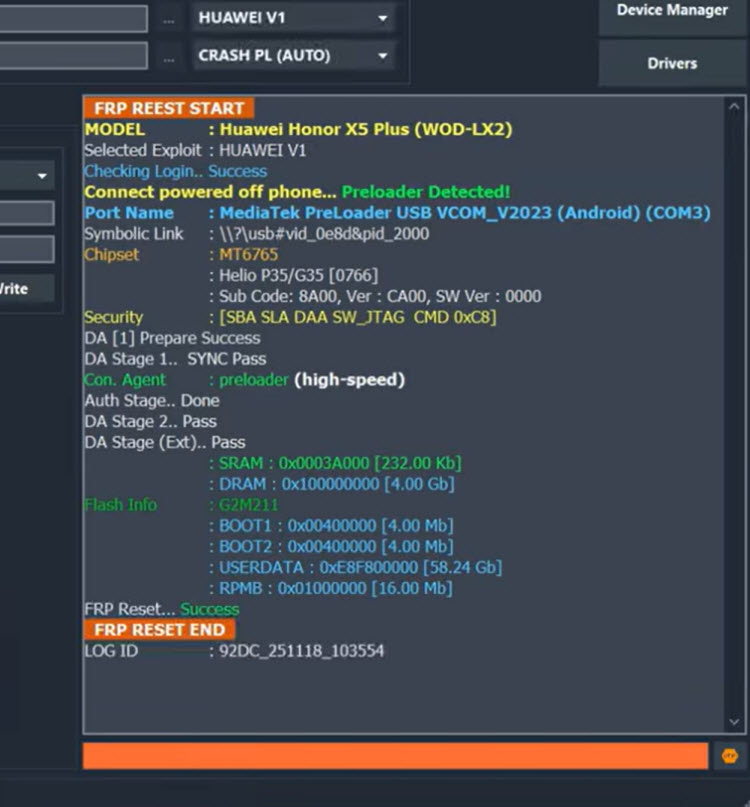
-Simply, disconnect phone from PC and complete initial setup wizard steps on your own. You will not face the google sign in screen again. If you face, then, there, there will be a (Skip) option. Just tap on that > Skip > Skip.
| Note: The ZTE device is stuck on a loading screen after bypassing frp, don’t worry, simply put your phone into recover mode and hard reset it (Wipe Data/Factory Reset). After that, finish up setup wizard steps again. |
Conclusion:
Downloaded and installed the easy and free (BFT Tool) on computer. Then, installed drivers properly through the bft tool. After that, connected our ZTE phone with PC. Selected (Unisoc) processor option from the tool and clicked over the (Reset FRP) option. It takes few seconds or a minute only in completing the frp bypass procedure automatically.