Bypass Google FRP Infinix Smart 7 HD Without Activity Launcher
If you are still stuck on a google sign in page because of forgetting already signed in old google account. So don’t worry about this matter now. Follow steps from below to Bypass Google FRP Infinix Smart 7 HD with the help of (Xshare Mini) application. Firstly, we will use (Itel Launcher) app to access this device main home-screen. After that, we will launch (Xshare Mini) app to bypass frp.
Note: We highly recommend you to apply this method only on your own device, if you are not owner of this Infinix Smart 7 HD, or you found this from some where, you must return this device to its real owner.
Let’s Start to Bypass Google FRP Infinix Smart 7 HD:
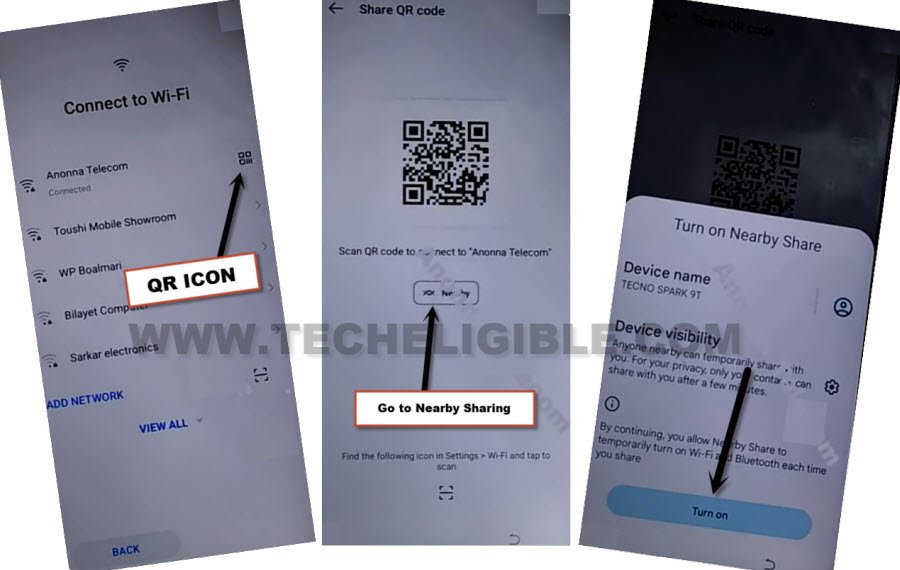
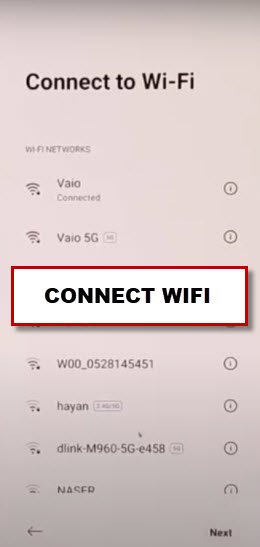
-Turn on device and go to “Connect to WiFi” screen.
-Hit on a “QR code” icon which would be right next to the connected WiFi SSID name.
-Now tap to “Nearby Share” button, and Turn on button from there.
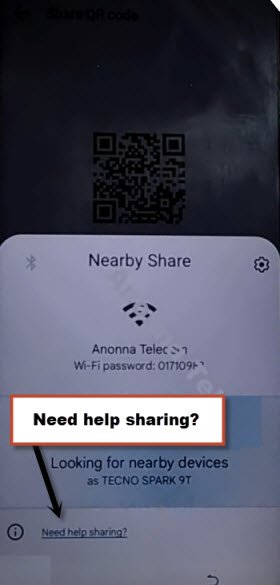
-Go to link “Need Help Sharing?”.
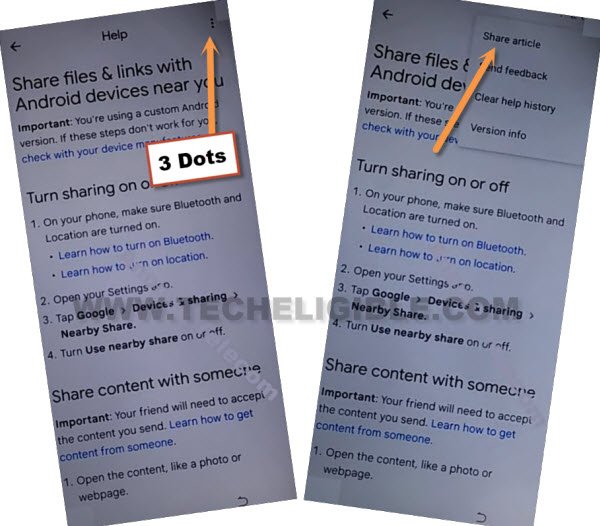
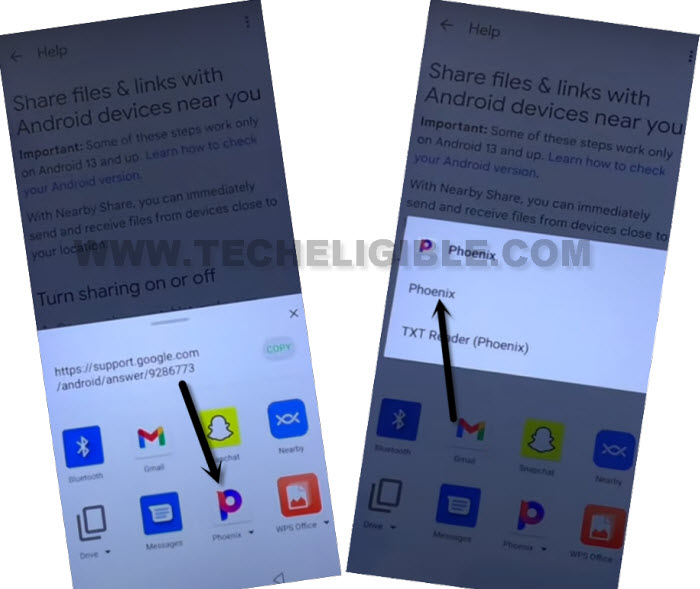
-From help screen, tap to > 3 Dotes > Share Articles.
-From popup window, tap to “Phoenix”. Hit again on “Phoenix” to launch this browser.
-Tap to “Agree & Start”. If you see (Update) page, just hit on “Cross icon” from top corner to close that update page.
Go to PalmStore Wap:
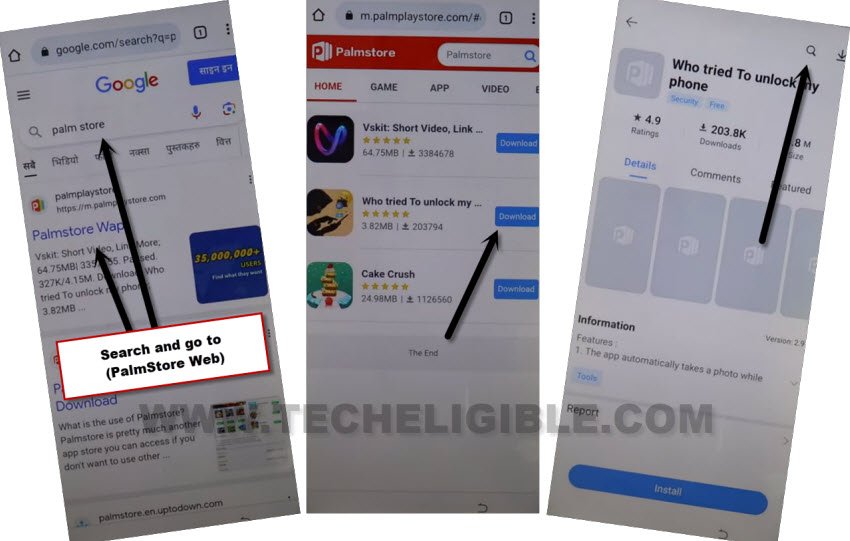
-Search in browser “Palm Store”.
-Tap on first searched result “Palm Store Wap”.
-Hit on “Download” button from (Who tried to unlock my…). And hit on “Open” From popup.
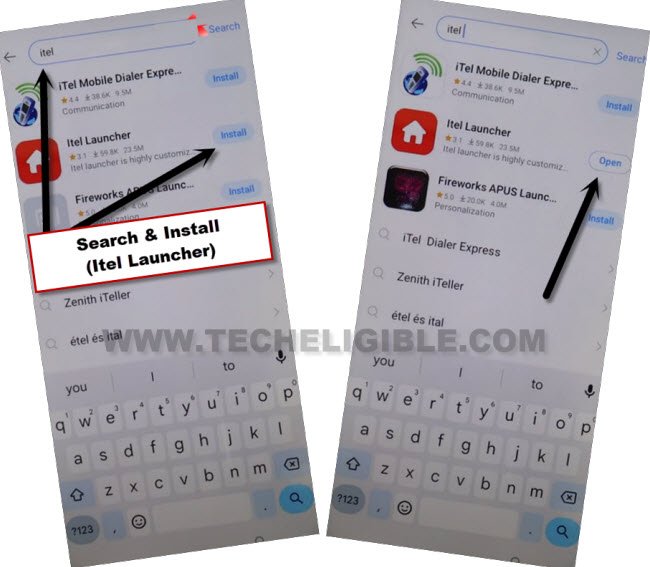
-Tap over “Search icon” from top corner.
-Search there with “Itel”. From searched result, tap to install “Itel Launcher”. Same as shown below.
-Hit on “Open” after installing process is done.
-After that, tap to > Open > Start > Next > Accept.
-Wait on screen (Itel OS launcher is stetting your Desktop). After that, tap to “Allow”.
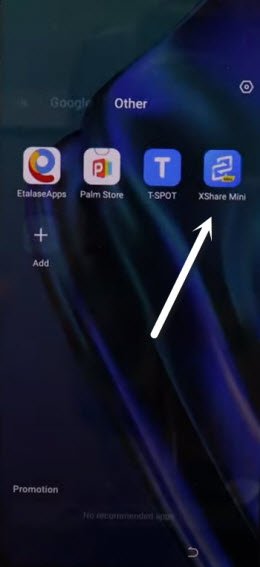
-After successfully reaching inside the device main home-screen. Just launch “Xshare Mini” application. This app is already installed on Infinix Smart 7 HD phone.
-Swipe screen to left few times, and tap on > Next Arrow > Enter.
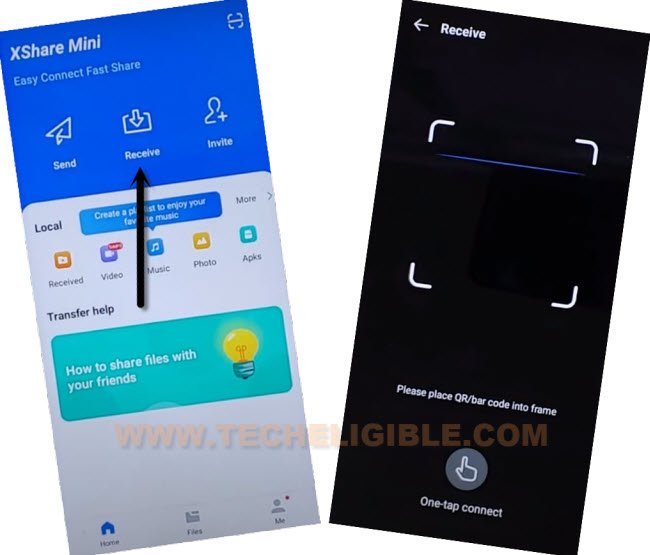
-Tap on “Receive”, after that, tap on “Allow”, and select “While using the app” few times to Bypass Google FRP Infinix Smart 7 HD.
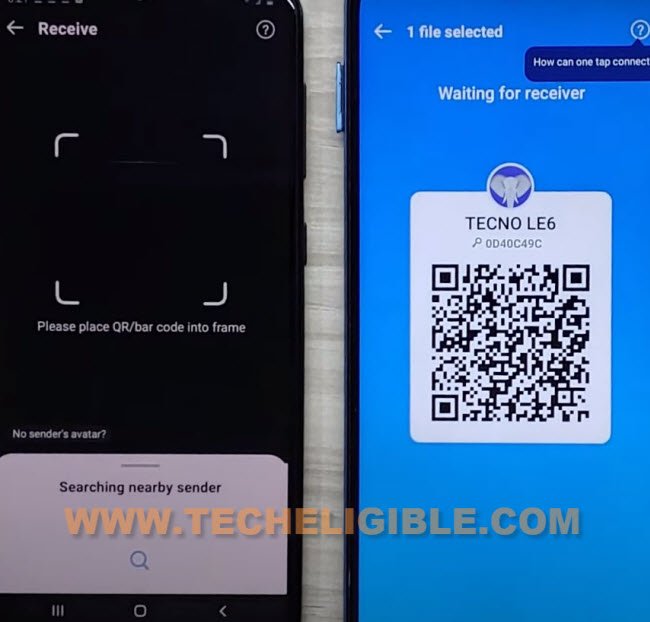
-The “QR Code” scanner will be displayed. Let’s scan code from other android phone to connect with.
Follow below Steps in any Other Android Phone:
-In any other android phone, you have to download frp bypass tools same as described below.
-Open google chrome browser, and search there with “Download FRP Tools“.
-Go to our website 1st searched result same as shown in below screen shot.
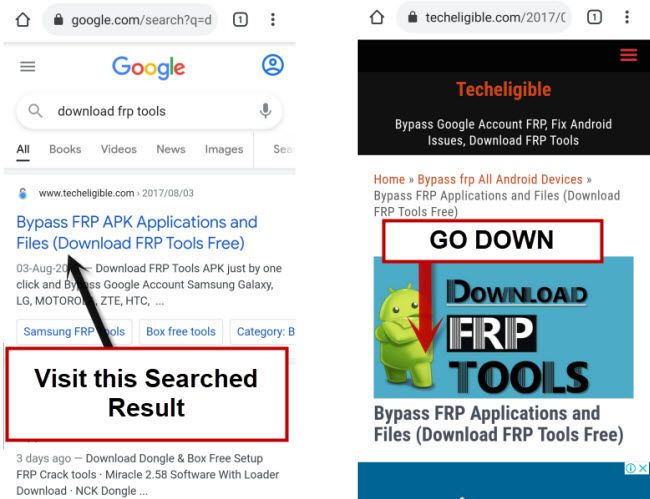
-Download from there below 2 main FRP removal applications. Later on, we will transfer these two apps to our Infinix Smart 7 HD.
1/ Google Account Manager 9.
2/ Account Login.
-Let’s download Xshare app through google play store in other android phone.
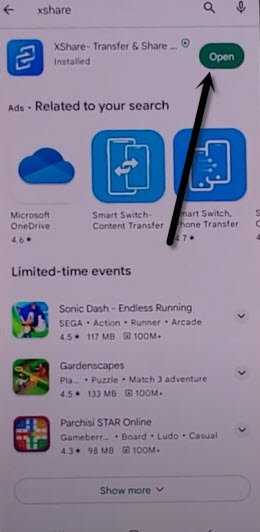
-Launch “Google Play Store”, and search and install “Xshare” application.
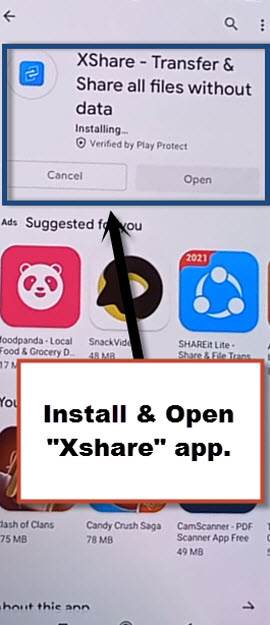
-After installing the app successfully, tap to “Open”.
-You have to tap on > Agree & Continue > While using the app to launch xhsare app completely.
-Tap on “Send”, and hit on “Grant Permission” option, and turn on option “Allow access to manage all files”.
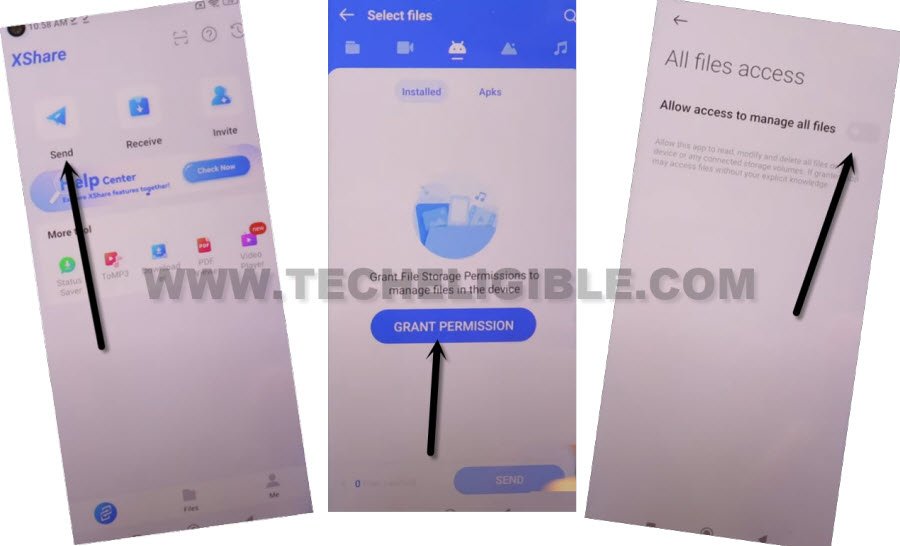
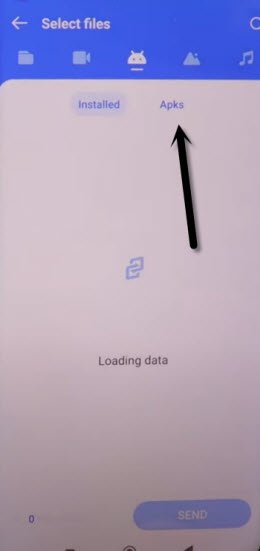
-Get back on “Select file” screen. Tap to “Apks” to access downloaded frp removal tools.
-Select both apps, and hit on “Send”.
-Allow both (Bluetooth & Modifying system settings).
-Tap to “Back Arrow”, and you will be displayed (QR Code) there.
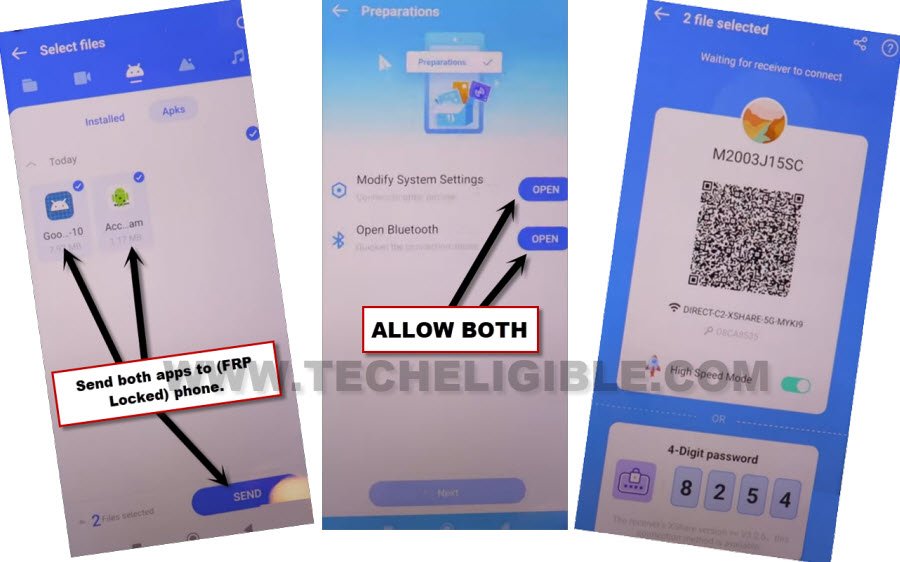
-Let’s scan code from Infinix Smart 7 HD device to connect both phones together. After that, the downloaded applications will be transferred successfully.
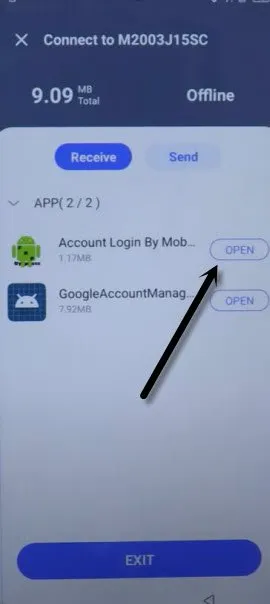
-Within few minutes, you will have both apps (Account Login + Google Account Manager) app installed on Infinix Smart 7 HD phone.
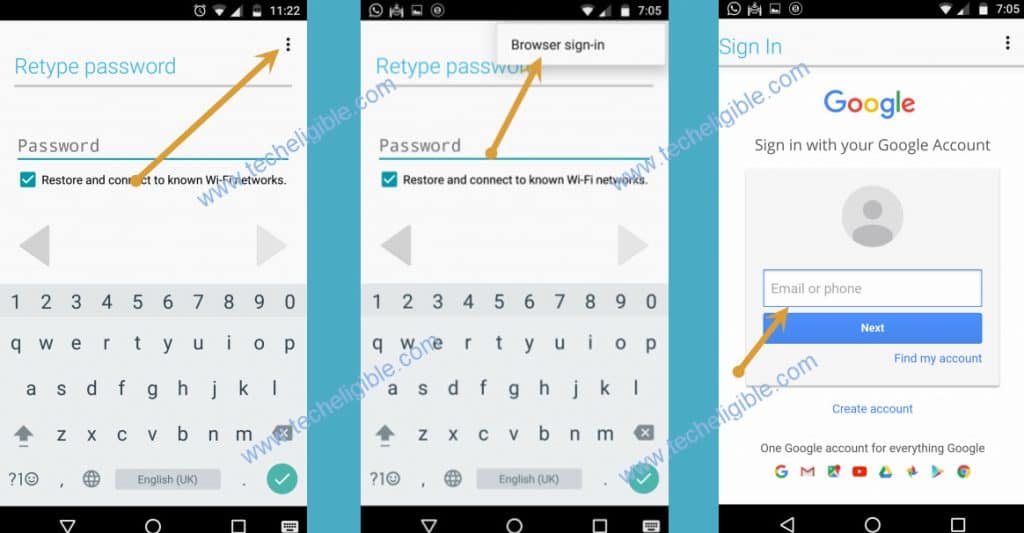
-Hit on “Open” to access (Account Login) app.
-Sign in new account there by going to > 3 dots > Browser Sign in.
-Congrats, we’ve signed in successfully with our new google account. And we are all done from Bypass Google FRP Infinix Smart 7 HD.
-Restart your device and reconnect WiFi.
Restart Phone & Re-Connect WiFi:
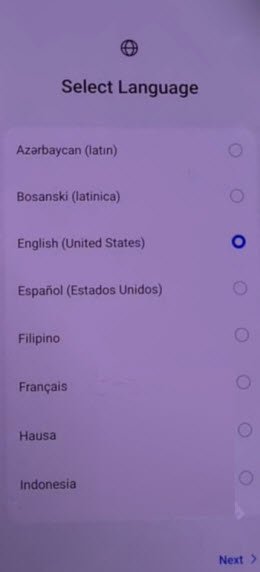
-From first (Select Language) screen, tap to > Next > Next > Skip.
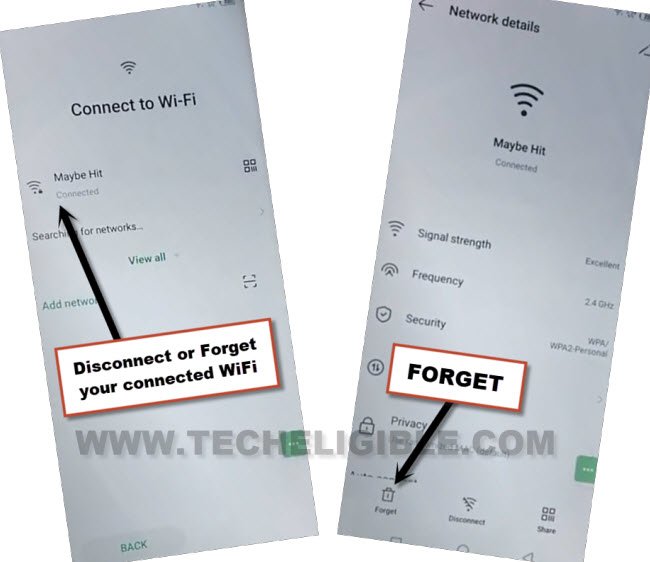
-Tap over “Connected WiFi” name, and then hit on “Forget”. (See below screen shot)
-After forgetting connected WiFi. Go back on first (Select Language) screen.
-Go again over “Connect to WiFi” page, and connect WiFi again.
-Once the WiFi is connected again, you will be redirected to the next screen. Finish setup wizard on your own, and there, you will have a (Account Added) screen. That means, the new FRP protection has been setup successfully.
