
Bypass FRP LG G Pad F2 8.0 LK-460, LG G Pad F 7.0 LK-430 Android 7
We have best Working method to Bypass FRP LG G Pad F2 8.0, and G Pad F 7.0 android 7 version devices, just follow our all steps very carefully, and get rid of google frp lock, and add new Gmail account to activate new frp lock. If you don’t own this device, we request you to skip this method and return device to its owner.
Let’s Start to Bypass FRP LG G Pad F2:
-Turn on device & Connect Wi-Fi.
-Go back to the screen, where you will be able to see “mic icon & accessibility Settings”.
-Tap on “Accessibility Settings > Vision > Talkback > Turn on”.

-After that, you will see the screen of “Talkback Tutorial”, that means you have successfully enabled the talkback feature in your LG G Pad device.
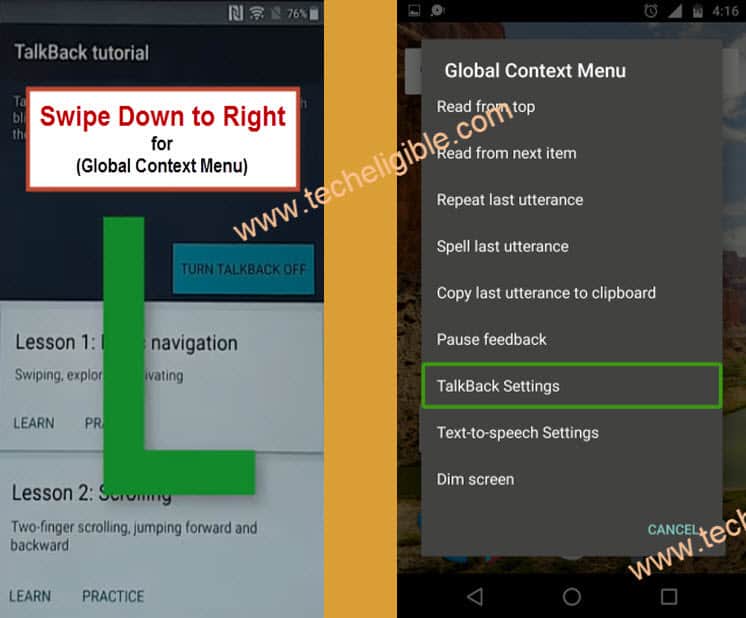
-Now you have to draw “L” by swiping down to right.
-After drawing L, you will see another window of “Global Context Menu”.
-From there, simply double tap on “Talkback Settings”.
-Long press both (Volume up + Volume down) keys together until you see new popup window of “Suspend Talkback”.
-From that window, just double tap on “OK”.
-Go down and then tap on “Help & feedback” option.
-Hit on “Get Started with voice access”.
-You will see Youtube Video, just tap on that video “Play icon” and wait few seconds, after that you will get some more options on that video.
-Now tap on “Clock icon” from the video top right corner.
![]()
-After that, you will see welcome to chrome popup window, just tap on > Accept & Continue > Next > No Thanks.
-Well done, we have accessed to the chrome browser, from here we will download LG frp bypass apps to Bypass FRP LG G Pad F2.
Download LG FRP Bypass App:
-Type & search in address “Download frp tools“.
-Go to 1st search result same as shown in below image.
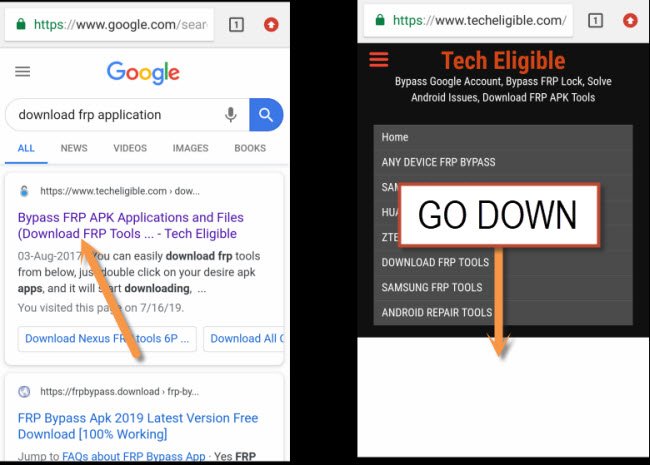
-Go down and download from there below 2 apps.
1-Quick Shortcut Maker 2.4.0.
2-Google Play Services
-Wait until downloading finish.
-Tap on “Download icon or 3 dots” from the top right corner of your chrome browser.
-Select “Downloads” option from there to access your device download folder.
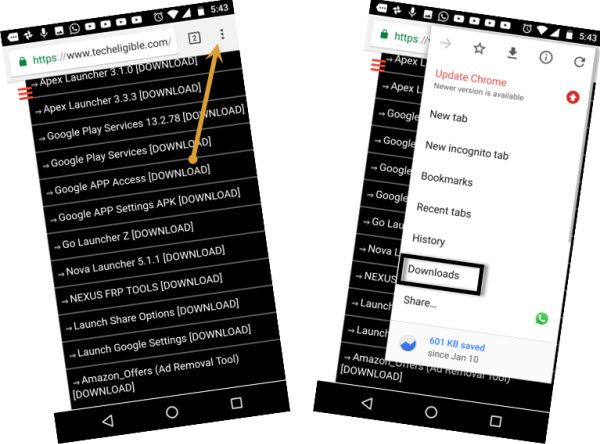
-There you will be able to see your both downloaded applications.
-Tap on “Quick Shortcut Maker 2.4.0”, and then you will receive popup window, just tap on “Settings” from that popup window.
-Now you will not see your device complete settings there, you will see only 2 options there, 1st one is “Wi-Fi”, and 2nd one is “Tethering”.
-So that means we will have to bring complete settings there.
-Enable “Talkback Feature” by long press (Volume up + Volume down) keys together.
-After that you will hear the sound that talkback has enabled.
-Draw “L” on your screen to bring “global context menu”.
-Once you get the Global Context Menu popup window, that means we have enabled talkback successfully.
-Long press “Power Key”, and then double tap on “Power off & Restart” option to restart your device.
Note: Before restarting device, make sure you have successfully enabled “Talkback Feature”.
-After device restart finish, you will see “Talkback Tutorial” screen.
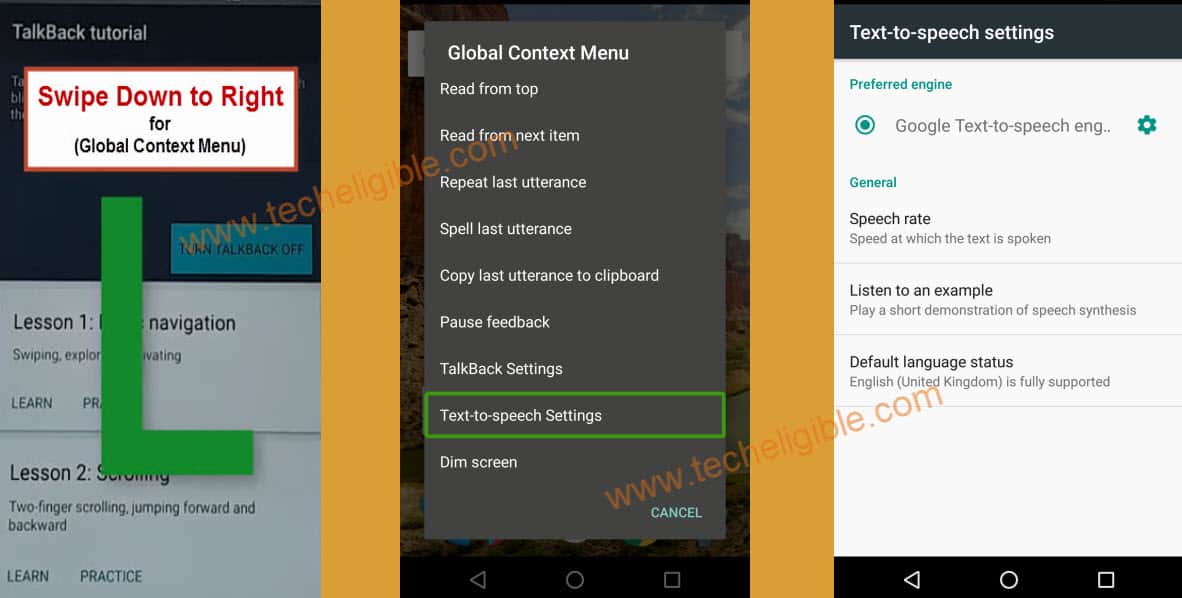
-Draw “L” to bring global context menu.
-Double tap on “Text-to-speech Settings”.
-Long press both Volume keys together, after that you will see “Suspend talkback” window, just double tap on “OK”.
-Now bring top bar options by swiping from very top to down.
-By doing that, you will get top bar menu, from there, just tap on “Settings gear icon”.
-Congrats, now you have accessed to your device complete settings.
-Now go down and tap on “Security”, after that tap on “Unknown Sources”, and then tap on “Allow”.
-Now tap on > Tablet Administrators > Find My Device > Deactivate.
Install Frp Tools:
-Go back to “Settings”.
-Go to > Storage > Explore > Downloads.
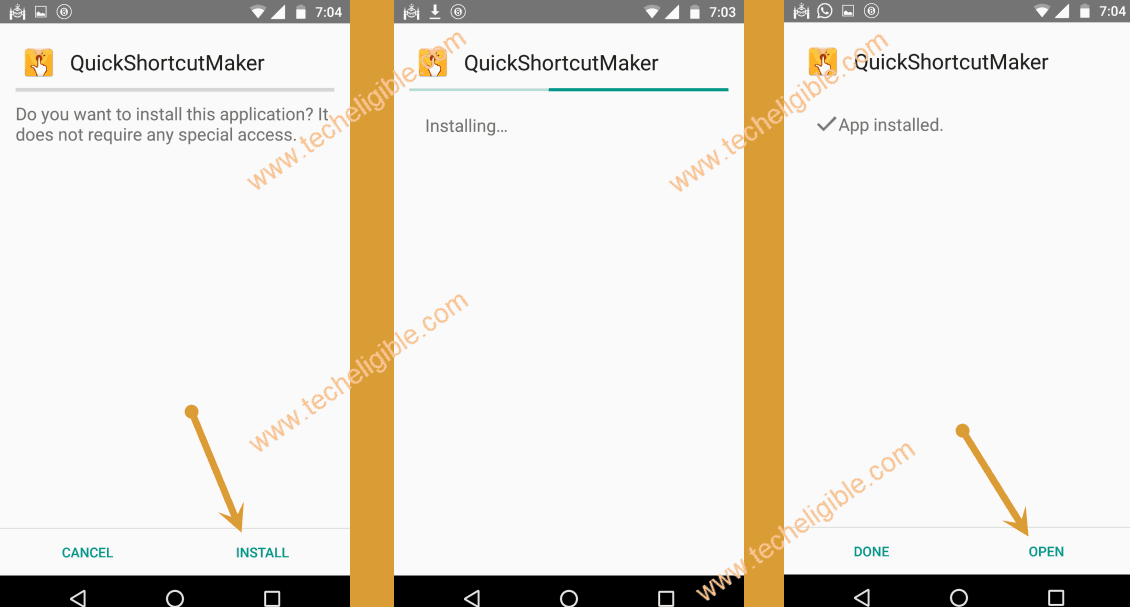
-Tap on > Quickshortcutmaker > Install > Open.
-Tap on “Application” from top bar menu.
-Go down and tap on “Settings”, and then tap on “TRY”.
-Now go to “APPS”.
Disable Some Apps:
-To Bypass FRP LG G Pad F2, we are supposed to disable google account manager & google play services apps.
-For that, tap on “3 dots” and then select “Show systems”.
-Now find and then tap on “Google Account Manager”, after that tap on “Disable”, and then tap on “Yes”.
-Find and go to “Google Play Services”, after that tap on “Disable”, and then tap on “Yes”.
-Now go back to “Settings”.
-From there, tap on > Storage > Explore > Downloads.
-There you will be able to see “Google Play Services” application.
-Tap on “Google Play Services”, and then tap on > Next > Next > install > Done.
-Tap on > Quick Shortcut Maker > Install > Open.
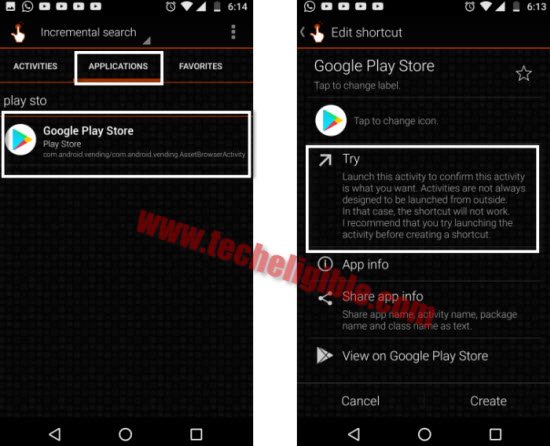
-Go to “Application” from the top bar menu, and then find and tap on “Google Play Store”.
-After that, tap on “TRY”.
-After few seconds, you will see google browser sign in screen.
-Enter any valid Gmail account there to be signed in, and after that you are done to Bypass FRP LG G Pad F2.
-Once you are done, just go back to “Quick Shortcut Maker” app by tapping on back key.
-From there, find and tap on “Settings”.
-Tap on “TRY”.
-Once you access to “Settings”, just go down and tap on “Account & Synch”, and then tap on “Google”.
-There you will be able to see your previously added Gmail account.
-Now you only have to enable back the disabled applications.
-Just go back to “Settings”, and from there tap on “Apps”.
-Tap on “3 dots” from top right corner & select “Show system”.
-Now tap on “All apps”, and then select “Disabled”.
-There you will be able to see your both disabled applications, such as “Google Play Services”, and “Google Account Manager”.
-Now just enable these both apps again.
-After that, just restart your device and you have successfully finished this method to Bypass FRP LG G Pad F2 8.0 LK-460,LK-430.
Bypass FRP LG G7 ThinQ (Android 9)