
2 Methods to Bypass FRP Lenovo TAB P11 Plus (Updated)
Bypass FRP Lenovo TAB P11 Plus, if you can’t remember forgotten google account, because you can’t reach device MENU till and until you do not sign-in with already added Gmail Account. With the help of below 2 methods, you can easily fix up your this FRP problem and setup new google account on this Tab p11 plus without using any paid tool.
Warning: Do not try this frp method on a stolen phone, this is a serious crime, if you are trying to bypass frp on a stolen phone, you may also be jailed, this process is for device owner and for educational purpose only.
| Method 1: Remove FRP Lenovo Tab P11 Plus [Android 12] |
| Method 2: Remove FRP Lenovo Tab P11 Plus [Old] |
Method 1: Bypass FRP Lenovo TAB P11 Plus [Android 12]
We are going to show you easy steps to Bypass FRP Lenovo Tab P11 Plus (Android 12) with the help of screen shots. We will access to device (PIN Setup) page. From there, we will keep trying to setup new PIN with multiple tries. Once the PIN is setup, that means, you are all done from bypassing FRP account. After that, you can easily access to your device main home-screen and setup new account.
-Start this process by turning on Lenovo TAB. After that, connect WiFi in your Tablet.
-Go all the way back to first (Hi there) screen.
-Afterwards, go to > Vision Settings > Talkback. Turn on (Use Talkback) option from there.
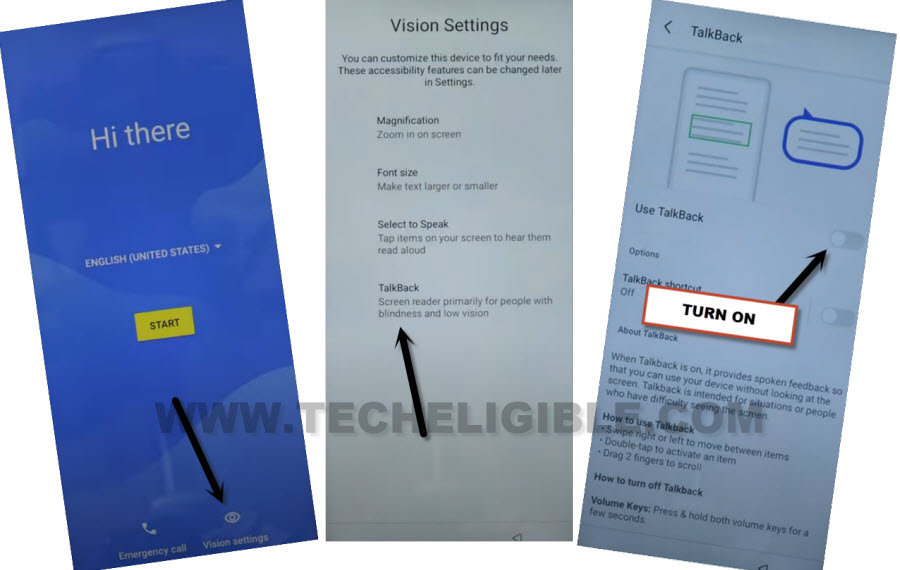
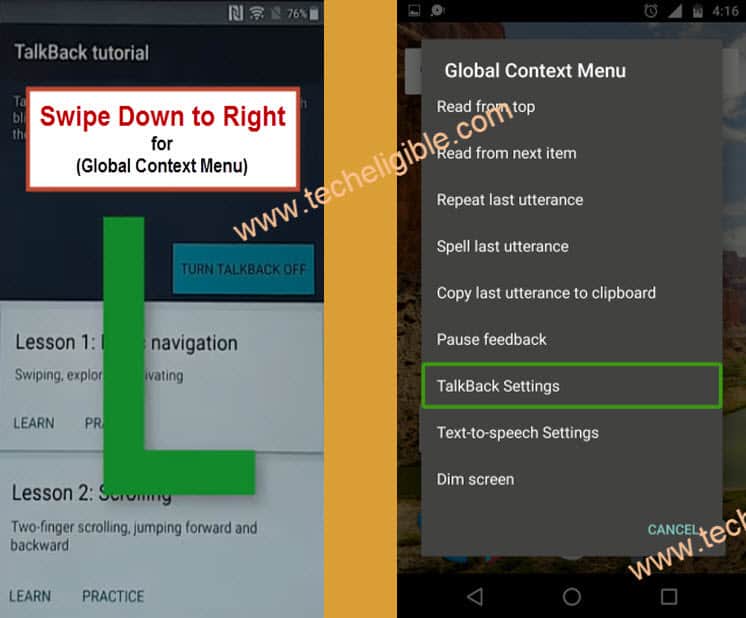
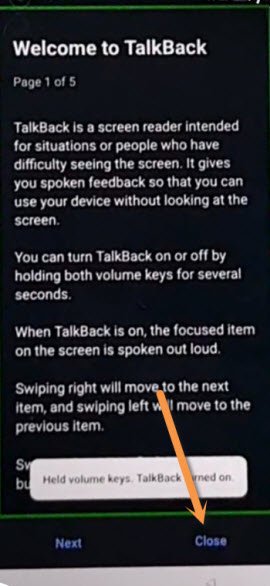
-You will have a (Welcome to talkback) page. Draw “L” shape on screen by swipe down to right.
-After that, go “Talkback Setting”.
-From (Talkback Menu), just double tap over > Braille Keyboard > Setup Braille Keyboard.
-Go to “Settings” from popup window.
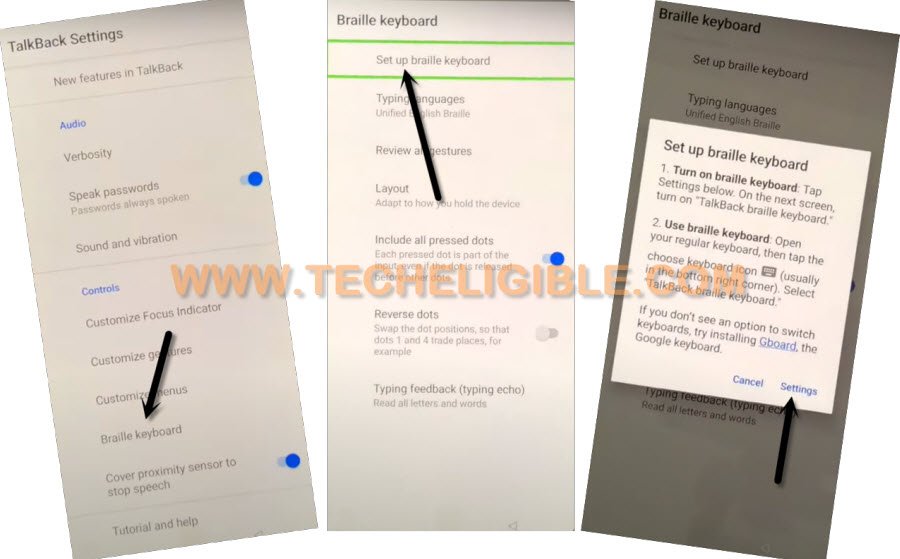
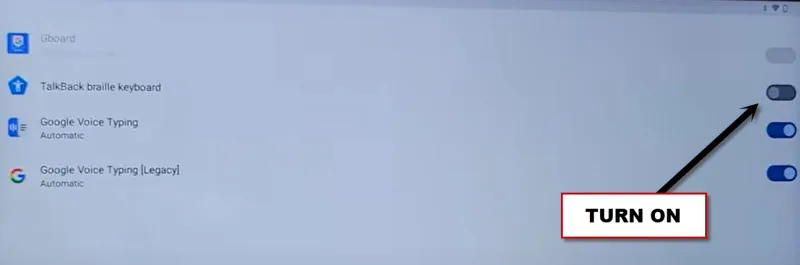
-Turn on “Talkback Braille Keyboard” option from there.
-Double tap over “Back Arrow” two times from bottom to go back to (Welcome to talkback) screen.
-Just double tap to “Close > Close” option to close talkback screen.
-Turn off (Use Talkback) option. From popup window, double tap to “Stop”.

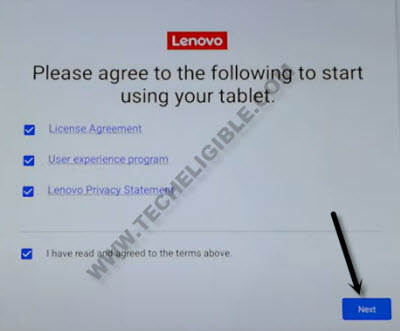
-Go all the way back on (Hi there) page. From there, hit on “Start”. Check mark option (i have read and agree…). After that, go to “Next”.
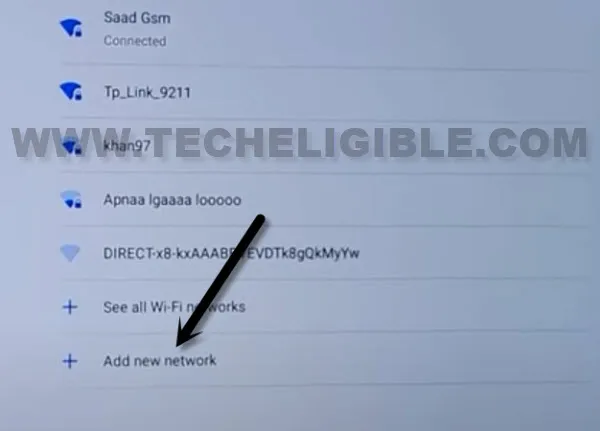
-You will reach on (Connect to WiFi) screen. From there, tap to “Add new network”.
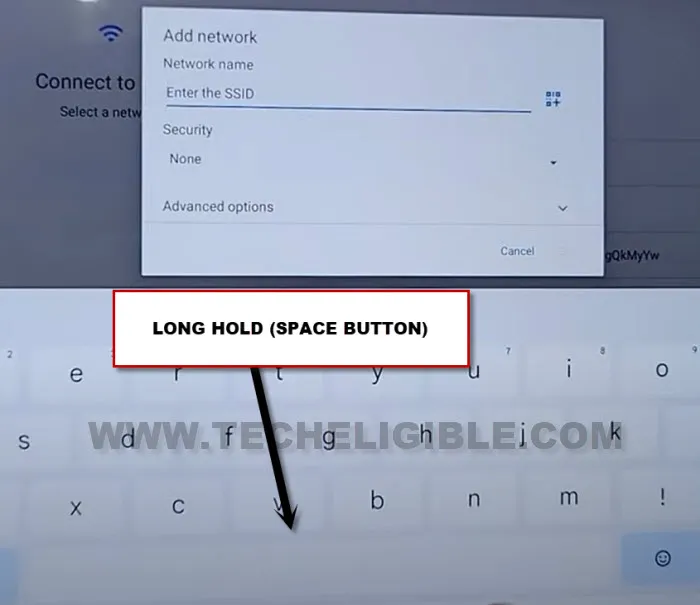
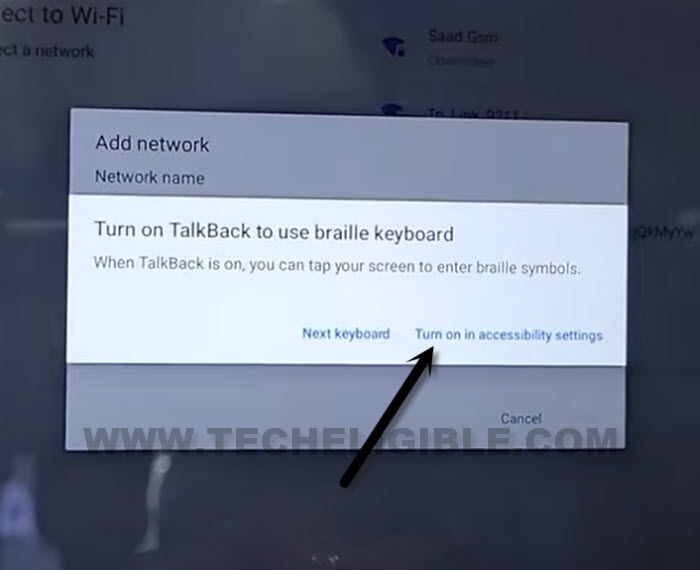
-Long tap over “Space button” from keyboard.
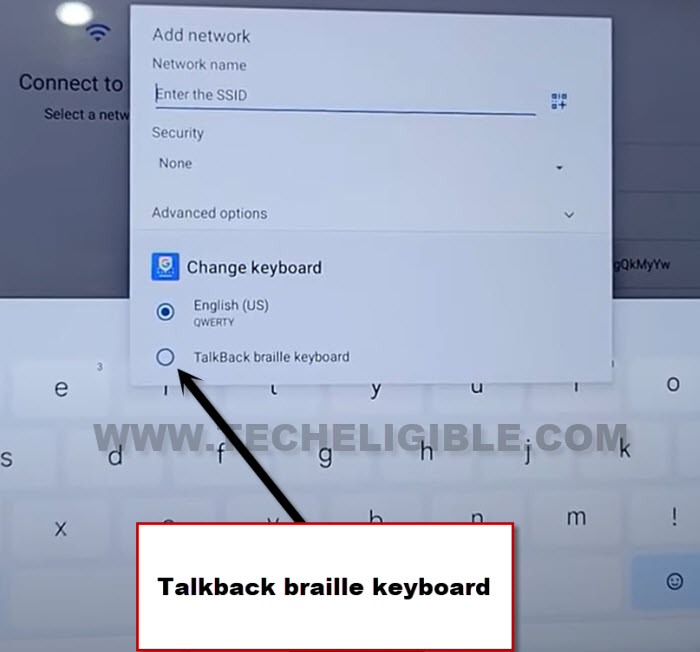
-From popup window, select “talkback braille keyboard”.
-From popup, hit on “Turn on in accessibility settings”.
-Go to “Accessibility Menu”.
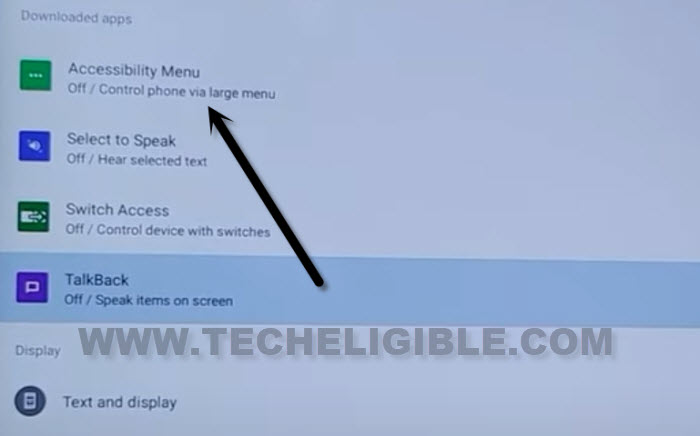
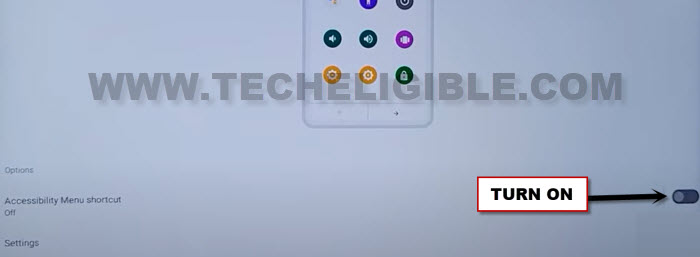
-Turn on “Accessibility menu shortcut”, tap to “Allow & got it” from popup.
-You will start having green colored (3 dots) icon at the bottom right side of the screen.
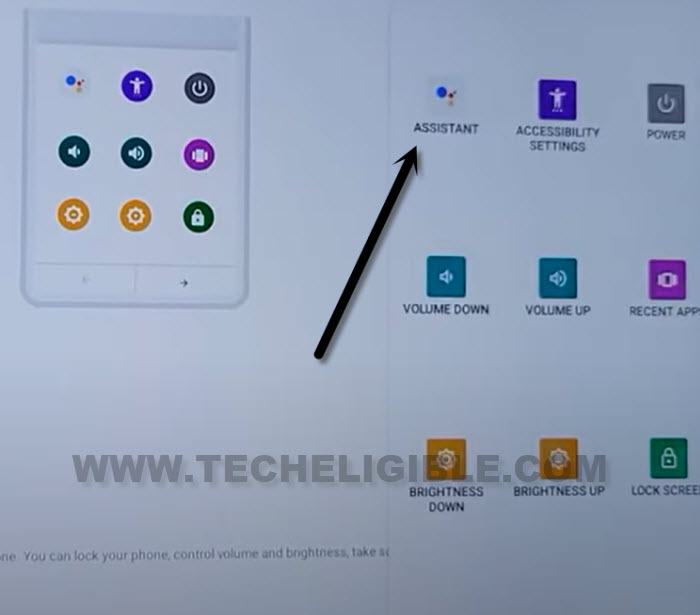
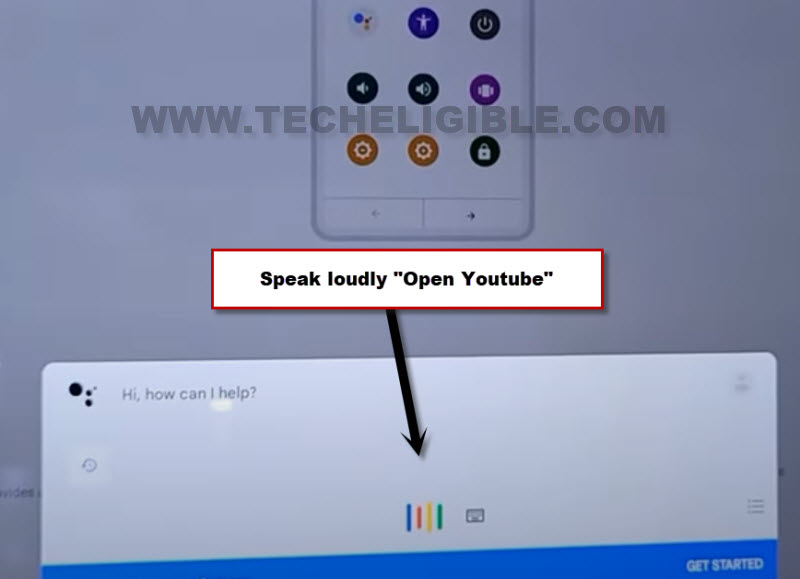
-Tap over “3 dots” icon.
![]()
-Go to “Assistant” option from there to Bypass FRP Lenovo Tab P11 Plus.
-Speak loudly “Open Youtube“. withing few seconds, the youtube website will be launched.
-From youtube, just hit on “Profile icon” from top right corner of the screen. After that, go to “Settings”.
![]()
-Tap over > History & Privacy > Youtube terms of service.
-From chrome popup, just hit on > Accept & Continue > NO Thanks.
-Tap to “Search” bar from top of the google chrome browser. You will be displayed a popup window, just select “Next Keyboard”.
Set Up Latest Pattern with Multiple Tries:
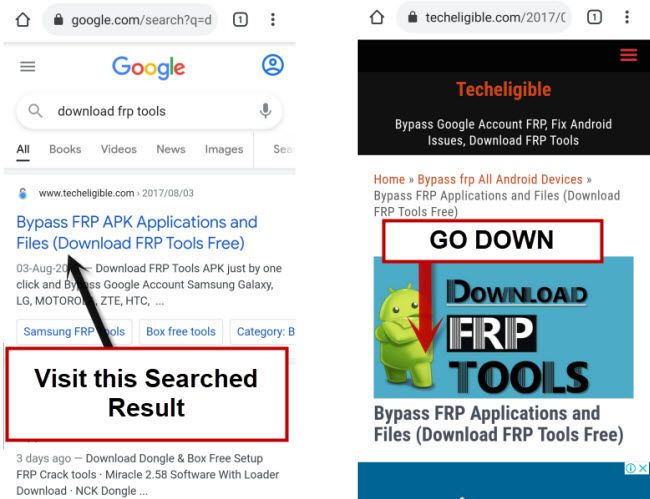
-Access our frp tools page by searching in chrome browser “Download frp tools“, and visit our website searched result.
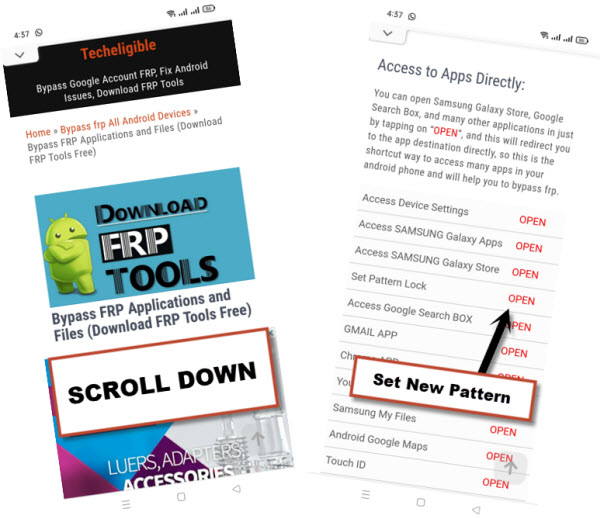
-Hit on a “Set Pattern Lock” option from there.
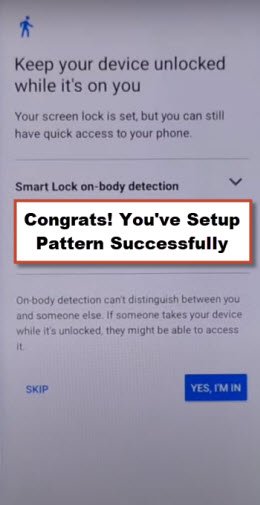
-We have to follow below steps 10-20 times until we see new screen of (Keep your device unlocked while its on you).
-Tap to > Pattern > Quickly draw pattern > Next > Quickly draw pattern > Confirm.
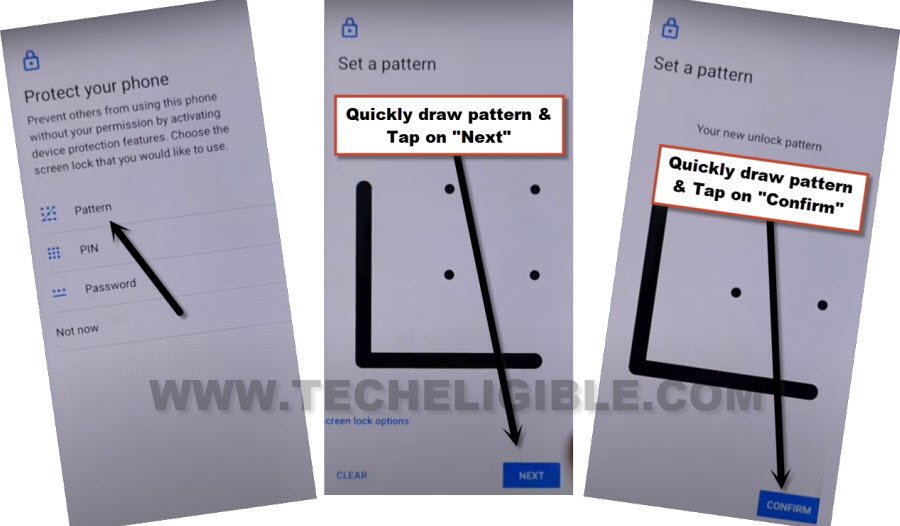
-If you don’t see (Keep your device unlocked while its on you) screen, that means, you are failed in setup pattern lock, just repeat again, and keep repeating as quick as possible.
-Repeat to setup pattern again, just > Tap to > Pattern > Quickly draw pattern > Next > Quickly draw pattern > Confirm.
-As soon as you see (Keep your device unlocked while its on you), that means, you have successfully setup new pattern lock.
-Tap on > Yes I AM IN > Got it.
-Go all the way back on first (Hi there) screen. Complete your setup wizard steps on your own. If you are asked for (Verify Pattern). Give your already setup new pattern to Bypass FRP Lenovo Tab P11 Plus.
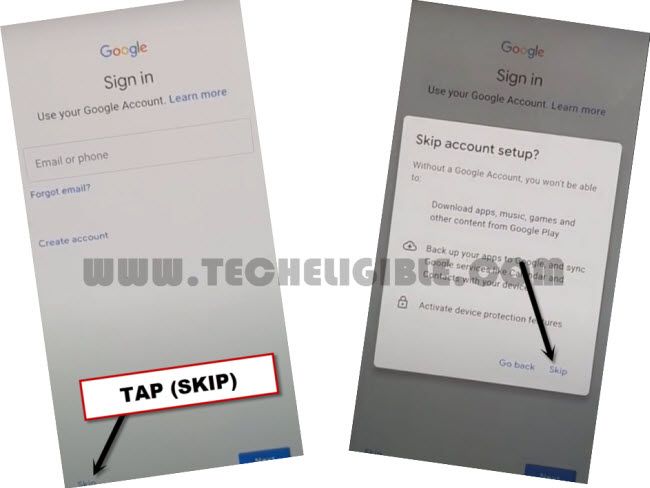
-If you see google sign in screen, just tap to > Skip > Skip.
-You don’t need any help now, you can finish all remaining setup wizard steps on your own. Thanks for visiting us.
Method 2: Bypass FRP Lenovo TAB P11 Plus [Old Method]
-Turn on TAB, and connect “WiFi”.
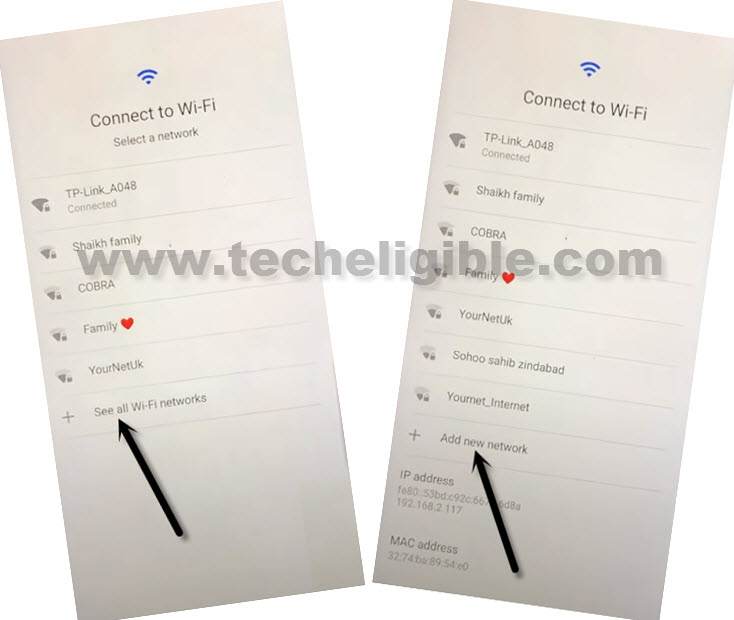
-Go back to (Connect to WiFi) screen, and hit on > See All WiFi Network > Add New Network.
-Tap to > Mic icon > Deny.
-Tap to > Mic icon > Deny.
![]()
–Tap to > Mic icon > Deny & Don’t Ask Again.
![]()
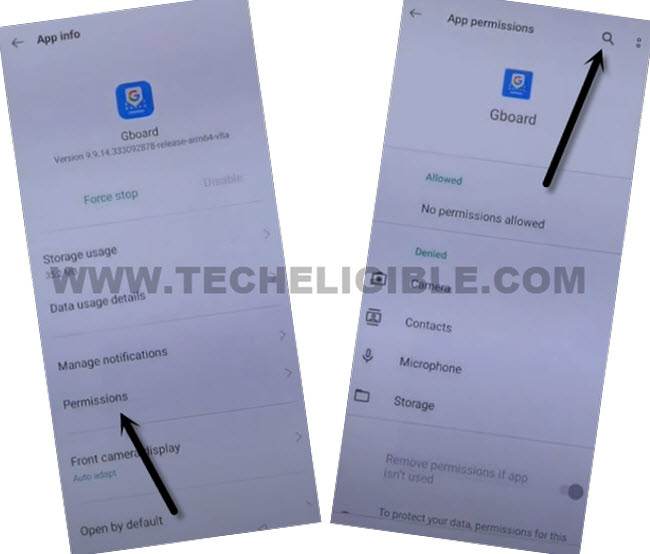
–Go to “Permission”, and hit over “Search icon” from top corner.
Disable Some Apps:
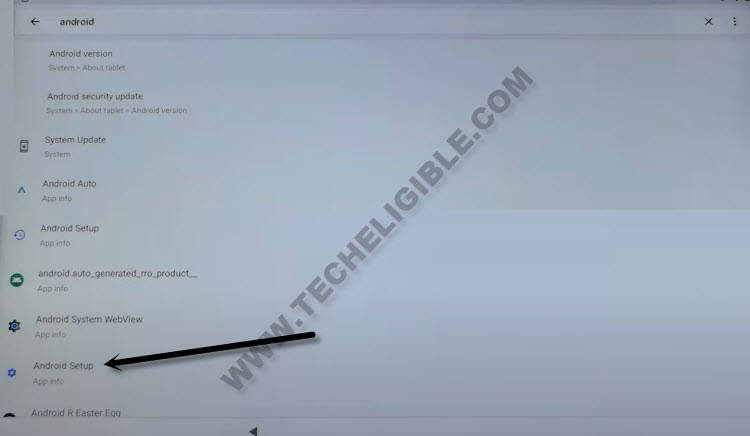
-Search in top search area “Android”.
-Find and tap to clock icon “Android Setup”, and tap to > Disable > Disable App.
-Tap to > Force Stop > OK.
-Go to “Storage & Cache”.
-Tap on “Clear Cache”, after that tap on “Clear Storage”.
![]()
-Go back to app list again, and tap to gear icon “Android Setup”, after that hit on “Force Stop > OK”.
-Now go to > Storge & Cache > Clear Cache.
-Go back to app list again, and tap to “Google Play Services”.
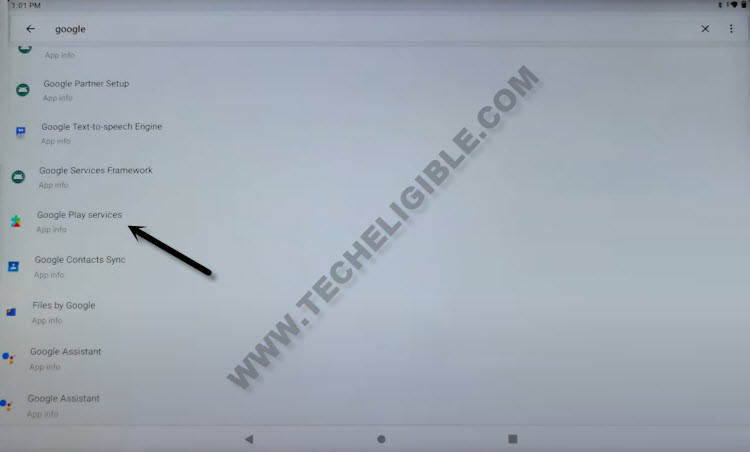
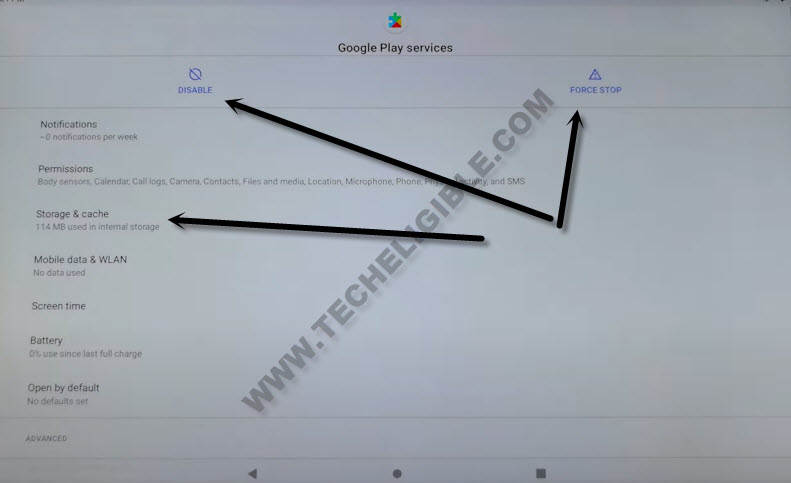
-Disable & Force Stop this app as well.
-Afterwards, go to > Storage & Cache > Clear Cache.
-By tapping on “Back Arrow” 2 times, get back to (Searching area) again.
-Search there “Acc”, and tap to > Accessibility > Accessibility MENU.

-Turn on “Accessibility MNEU Shortcut”, and then tap to “Settings”, and turn on “Large Button” option to Bypass FRP Lenovo TAB P11 Plus.
-Get back to (Lenovo) screen by tapping on back arrow multiple seen same as shown in below image.
-Tap to > Next > Skip.
-There you will have (Just a sec…) screen.
Follow Below Steps Quickly:
-You have to follow below 3 steps very quickly, you could be failed in first few attempts, so don’t worry, keep trying until you succeed.
Step 1: Tap “Human icon” from bottom right corner.
Step 2: Tap “Assistant”.
Step 3: Quickly tap “Settings”.
Step 4: Quickly hit on “Enable” button from google play services.
-Tap to “BACK Arrow”, and you will see there (Just a sec..) screen again.
-Hit again on “Back Arrow” to get back to (Connect to WiFi) screen, from there tap to > Setup Offline > Continue.
-Complete setup wizard without signing with forgotten google account.