
Bypass FRP OnePlus Nord 3 5G Android 13 By Oneplus Clone App
You can easily Bypass FRP OnePlus Nord 3 5G (Android 13) with the assist of (Oneplus Clone) app. This is a totally free application, and can be installed in any phone from google play store. What we will do here, we will just use one more android phone to install this app in. After that, connect both devices through this app to transfer any random app. Once you did this, you will be able to access inside your device main homescreen easily without signing in with google account.
Remember: Do not try this frp method on a stolen phone, this is a serious crime, if you are trying to bypass frp on a stolen phone, you may also be jailed, this process is for device owner and for educational purpose only.
Let’s Start to Bypass FRP OnePlus Nord 3 5G:
-We are gonna start this method by turning on phone & Connect WiFi.
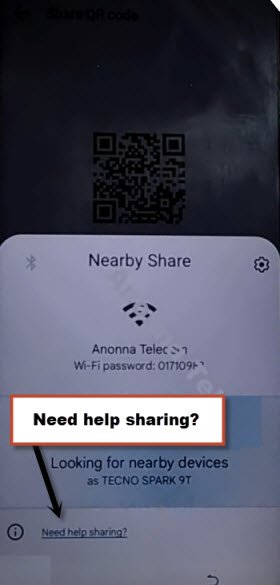
-Go back over (Connect to WiFi) page, and hit on > Exclamation icon > Share > Nearby.
![]()
-Tap to > Continue > Allow > Need Help Sharing.
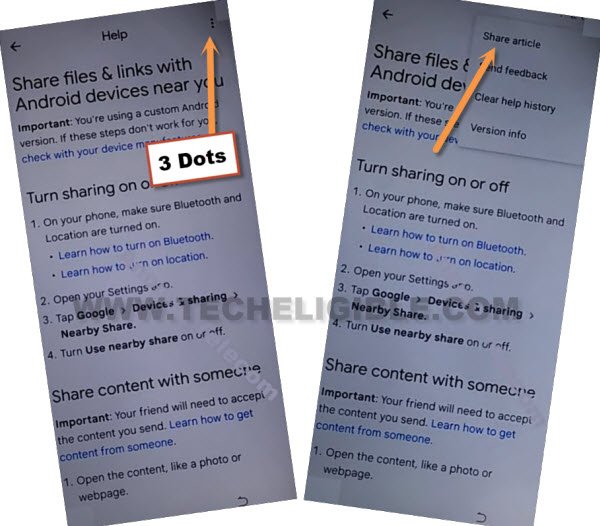
-On the help page, just hit over > 3 Dotes > Share Articles.
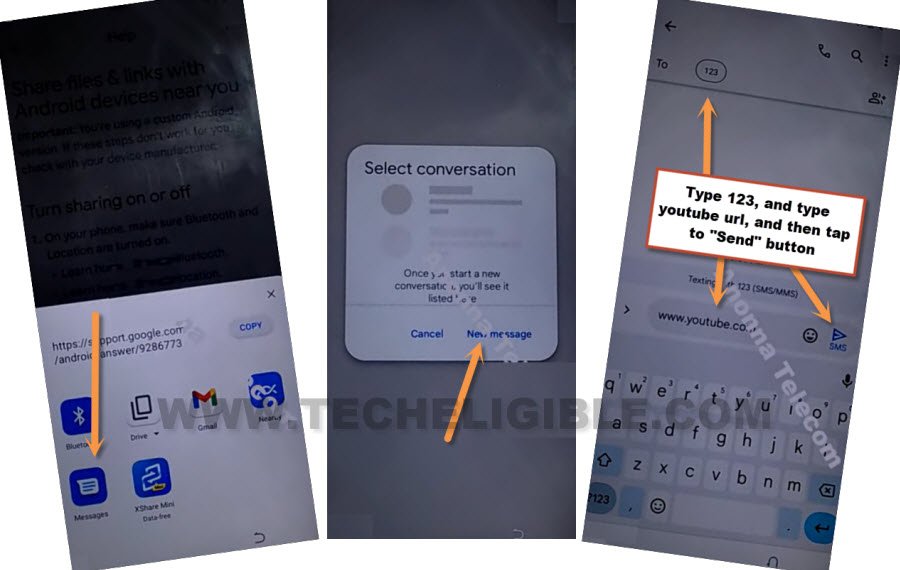
-You will have a share popup window at the bottom with some share apps, just choose > Message > New Message.
-Type url “www.youtube.com“, and send this url to any random number as text, later on, this url will convert to hyperlink.
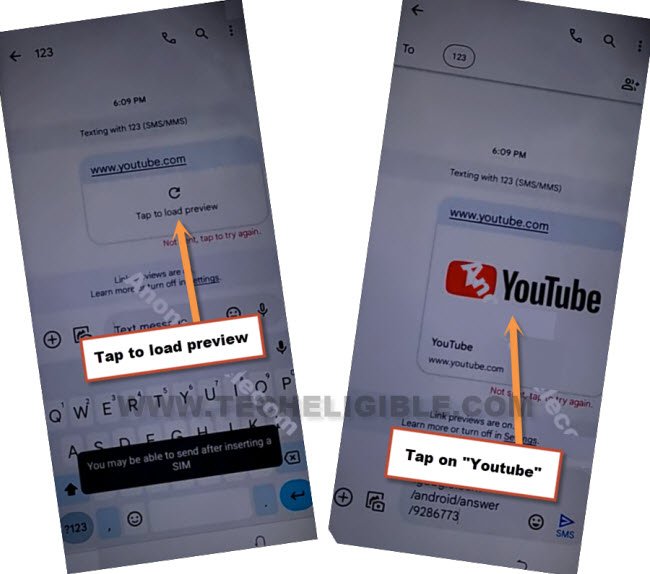
-Tap on “Tap to load preview”, and then tap on “Youtube”.
-The youtube website will be launched shortly, just hit over > Profile > Settings > History and Privacy > Youtube terms of services.
![]()
-From chrome window, tap to > Use without an account > No Thanks. The google chrome browser will be launched successfully. We can easily access to our device main settings page to Bypass FRP OnePlus Nord 3.
Access Settings inside OnePlus Nord N3 5G:
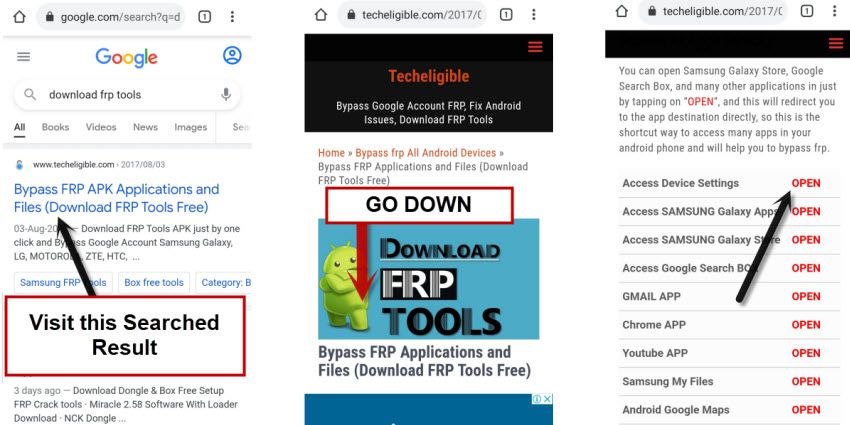
-Firstly, go to our website frp tools pages, just type and search with “Download FRP Tools“.
-Visit our website searched result, and tap to “Access Device Settings” option from frp tools page.
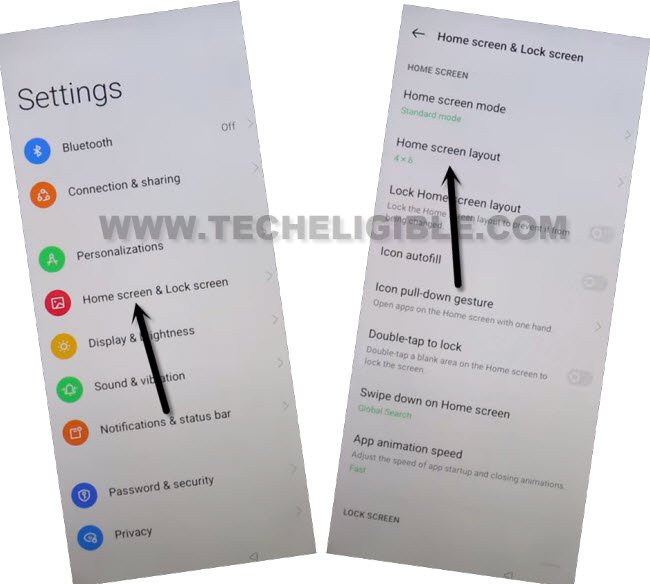
-Once we access to our device settings, just go down little bit, and tap over > Home screen & Lock Screen > Home Screen Layout.
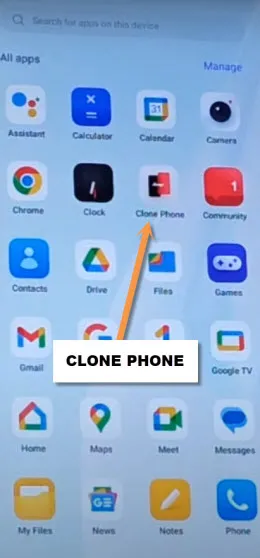
-Congrats, we are now inside our device home-screen, lets launch by default installed app (Clone Phone) app.
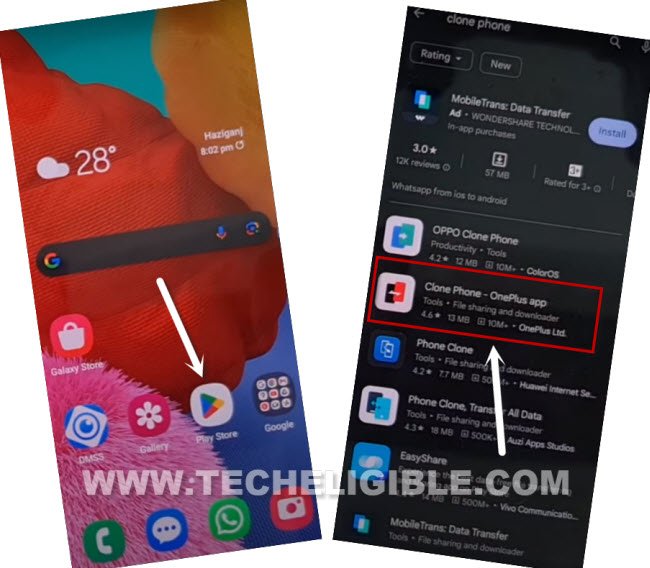
-Let’s run (Clone Phone) application from your device main menu, this app is installed by default on each Oneplus phone.
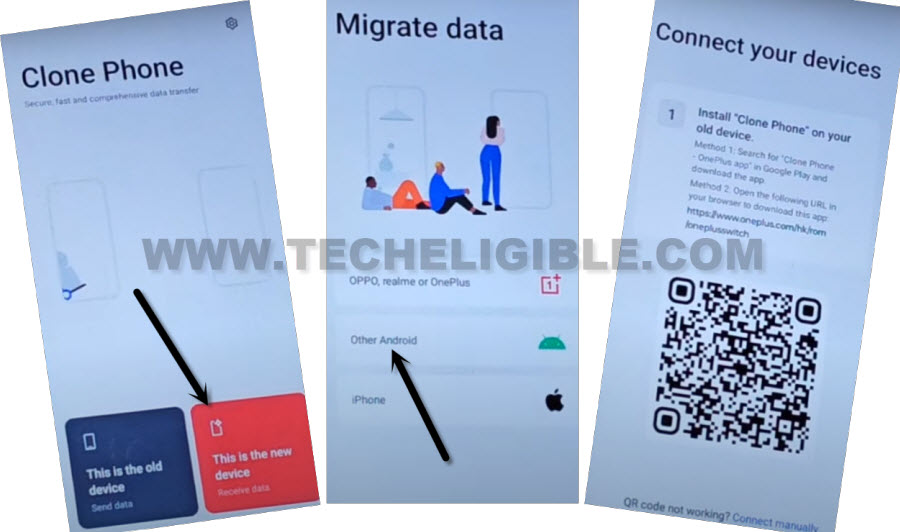
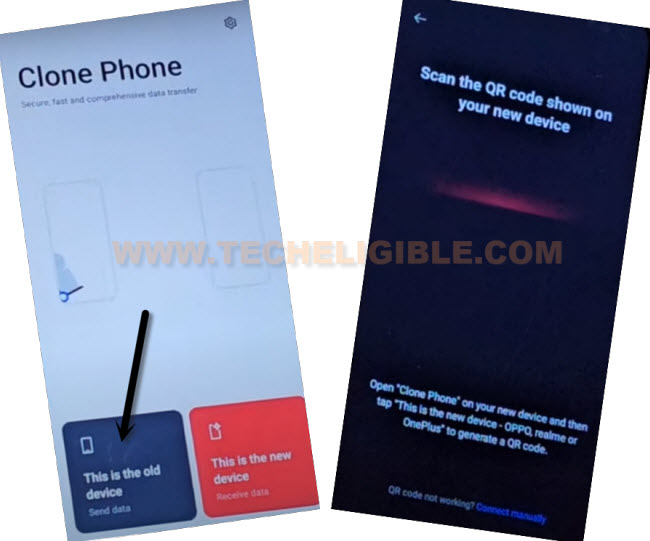
-Tap to “This is the new device” from clone phone app.
-After that, tap to “Allow” option few times, now tap to “Other Android” option.
-Here, you will be displayed a QR Code on screen. We have to scan this code from other device clone phone app to connect both devices each other.
Use Any Other Android Device to Connect With:
-Follow up below steps in your other android device.
-Open “Google Play Store”, and install “Clone Phone – Oneplus App”
-Open your installed app (Clone Phone – Oneplus), and hit on “Agree & Continue”.
-From popup, tap to > Settings > Turn on (Allow modifying system settings).
-Tap to “Back” arrow form bottom, and again hit on “Settings” from popup, and hit turn on (Allow access to manage all files).
-Again go back by tapping over back arrow. After that, tap to “Start Migration” button from there.
-From popup, go to “Settings”, and turn on app “Clone Phone” from app list.
-Go back again, and tap to “Settings” again from popup. Turn on “Permit usage access”.
-Go back, and tap on “While using the app”, after that, tap many times on “Allow” option from popup.
-Finally hit on “Ok” from popup. and this time the QR Scanner screen will be loaded.
-Scan QR Code to connect both devices together, after that, we will be able to Bypass FRP OnePlus Nord 3 5G.

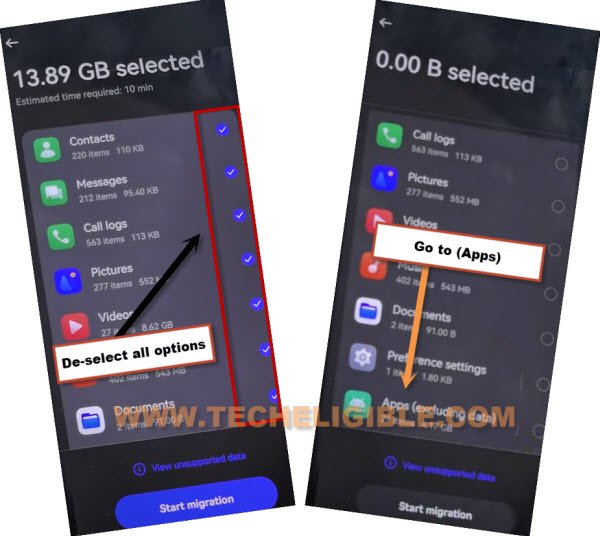
-Once both devices connected successfully, from your other android device, De-select all options, and then tap over “Apps (excluding data)”.
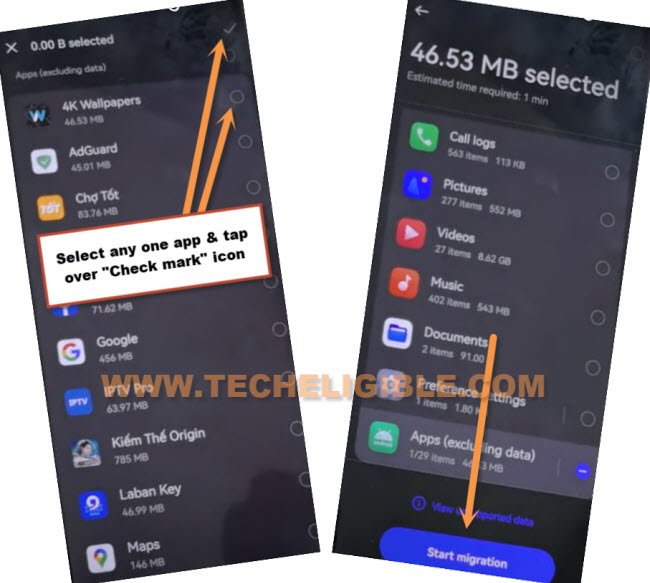
-Select any one app inside (App), in our case, we are selecting “4K Wallpapers” app from there, and then tap over “Check mark” icon from top right corner (See below image).
-Hit on a button “Start Migration”.
-This will take time to be finished, once its done, just tap over “Done” from migration complete screen, after that, select “Buttons”, and hit on “Next”.
-Tap on “Skip” from top right corner, and hit on “Done”, afterwards, hit on “Get Started” button.